Cheese Shell Tacos: The Ultimate Low-Carb Crunch
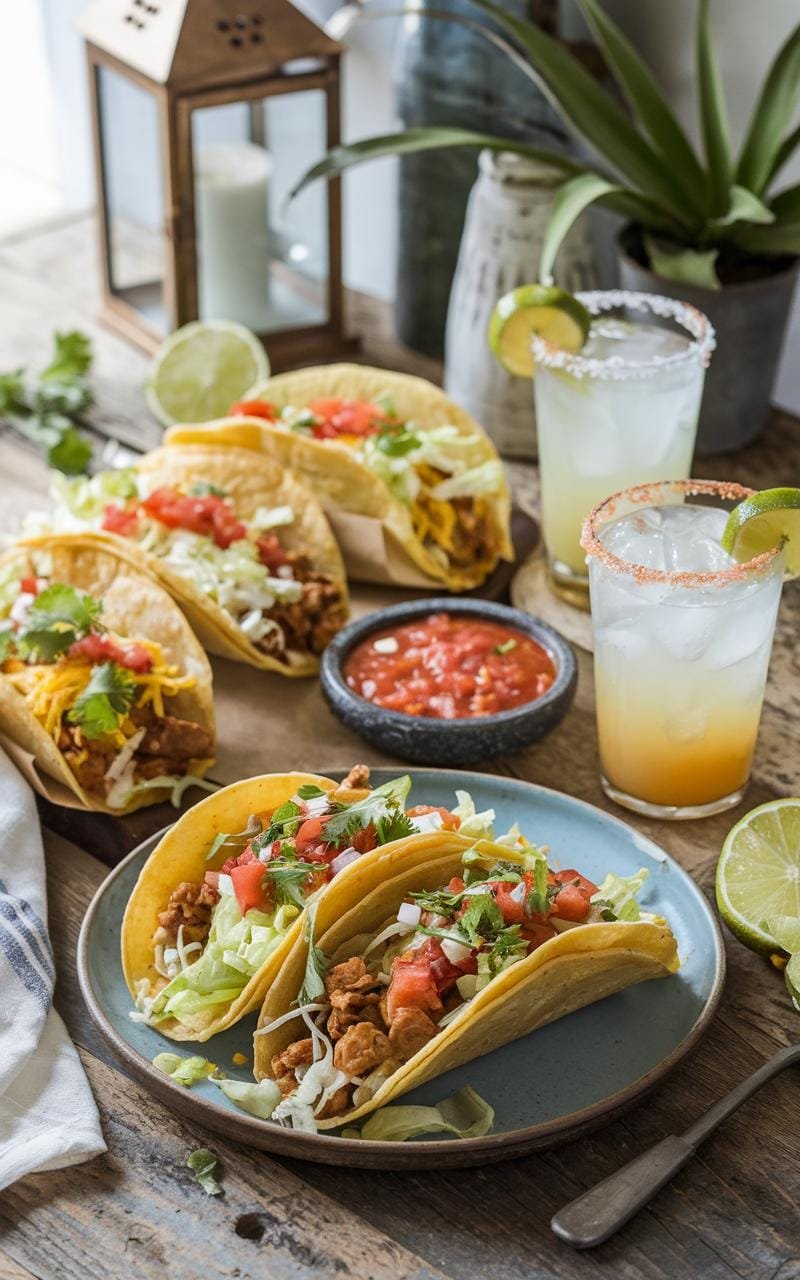
Ever dreamed of a taco that’s both keto-friendly and deliciously crispy? Say hello to cheese shell tacos!
These golden, crunchy vessels are made entirely of cheese, perfect for those watching their carbs or avoiding gluten.
I’ve been experimenting with these for months, and I’m thrilled to share my foolproof method with you.
Let’s dive into this cheesy adventure!
KEY INFO:
Prep time: 10 minutes
Cook time: 10-15 minutes
Total time: 20-25 minutes
Servings: 6 shells
Difficulty level: Easy
Dietary tags: Low-carb, Keto, Gluten-free
EQUIPMENT NEEDED:
• Baking sheet
• Parchment paper or silicone mat
• Oven
• Spatula
• Wooden spoon or inverted muffin tin (for shaping)
• Paper towels
Don’t have a muffin tin? No worries! I’ve used everything from the back of a ladle to small glasses to shape these bad boys.
INGREDIENTS:
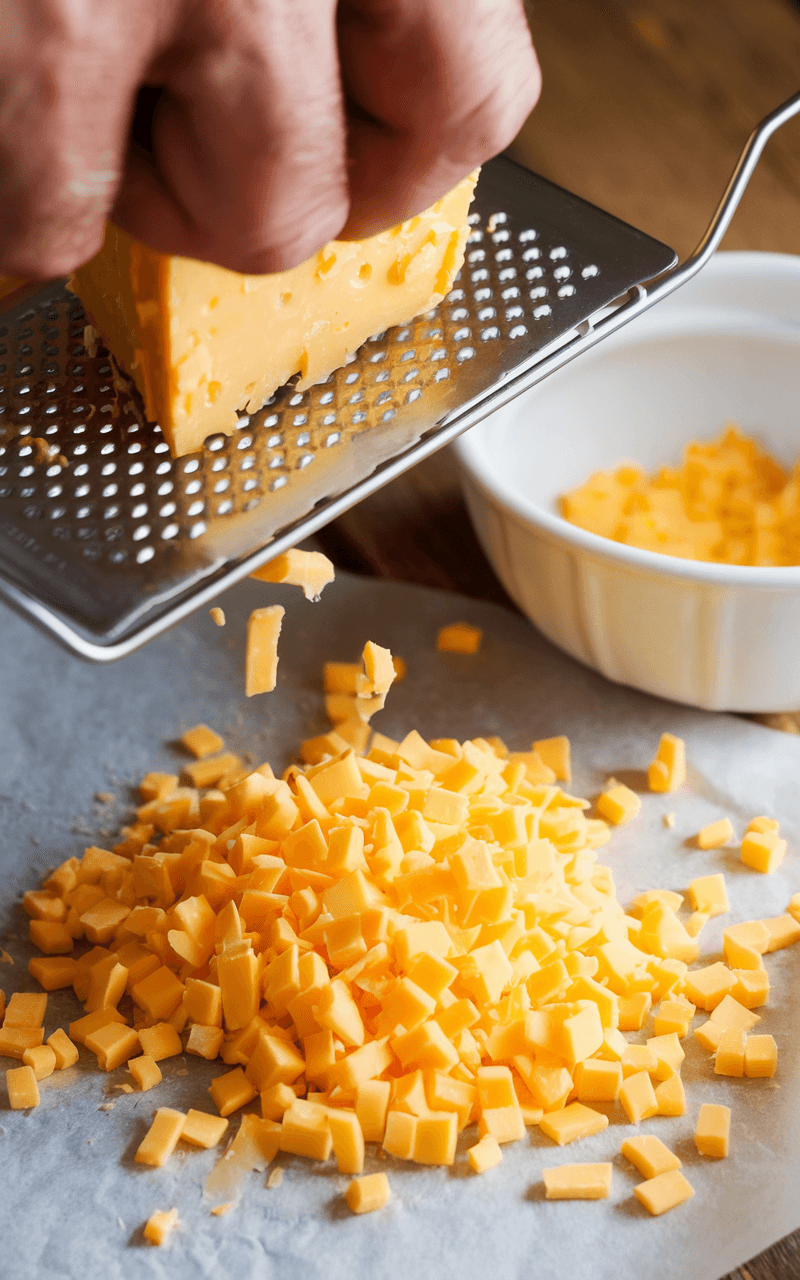
• 2 cups (200g) shredded cheddar cheese
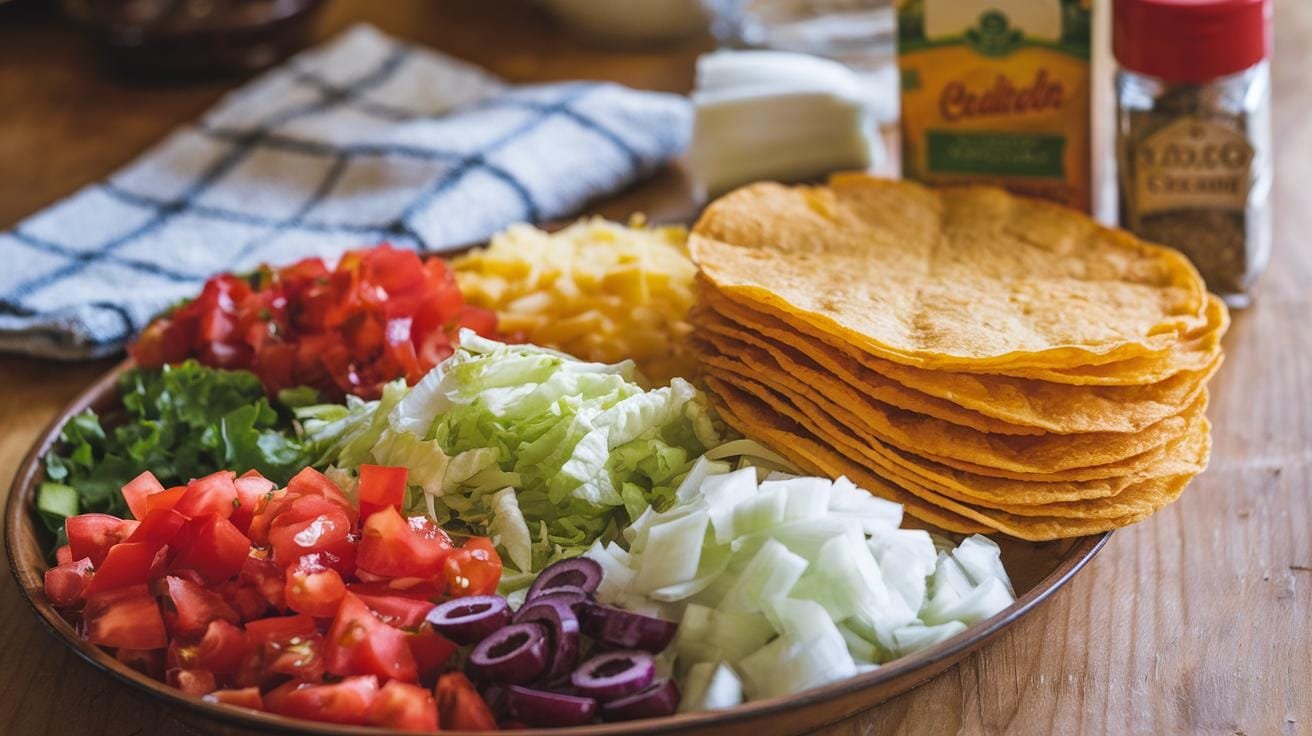
• Taco fillings of your choice (e.g., cooked ground beef, lettuce, tomatoes, sour cream)
METHOD:
1. Preheat your oven to 400°F (200°C). Trust me, a hot oven is key for that perfect crisp!
2. Line your baking sheet with parchment paper or a silicone mat. This isn’t just for easy cleanup – it prevents the cheese from sticking.
3. Portion out about 1/3 cup (30g) of shredded cheese into circles on your lined baking sheet. Leave at least 2 inches between each circle – these will spread!
4. Pop the baking sheet in the oven and bake for 8-10 minutes. Keep a close eye on them! You’re looking for the edges to turn golden brown and the center to be bubbly.
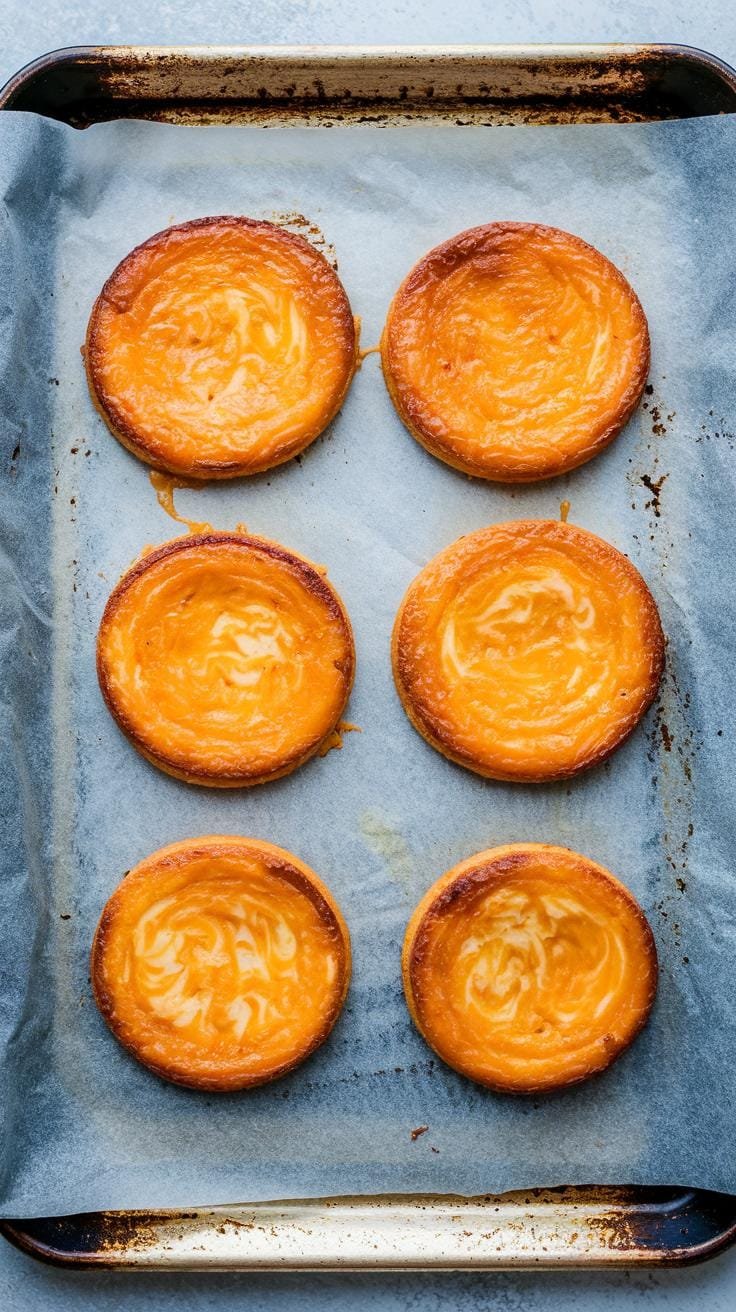
5. Once done, remove from the oven and let them cool for 1-2 minutes. They should be firm enough to lift but still pliable.
6. Quickly (but carefully – they’re hot!) drape each cheese circle over your chosen shaping tool. I like using the handle of a wooden spoon rested between two cups.
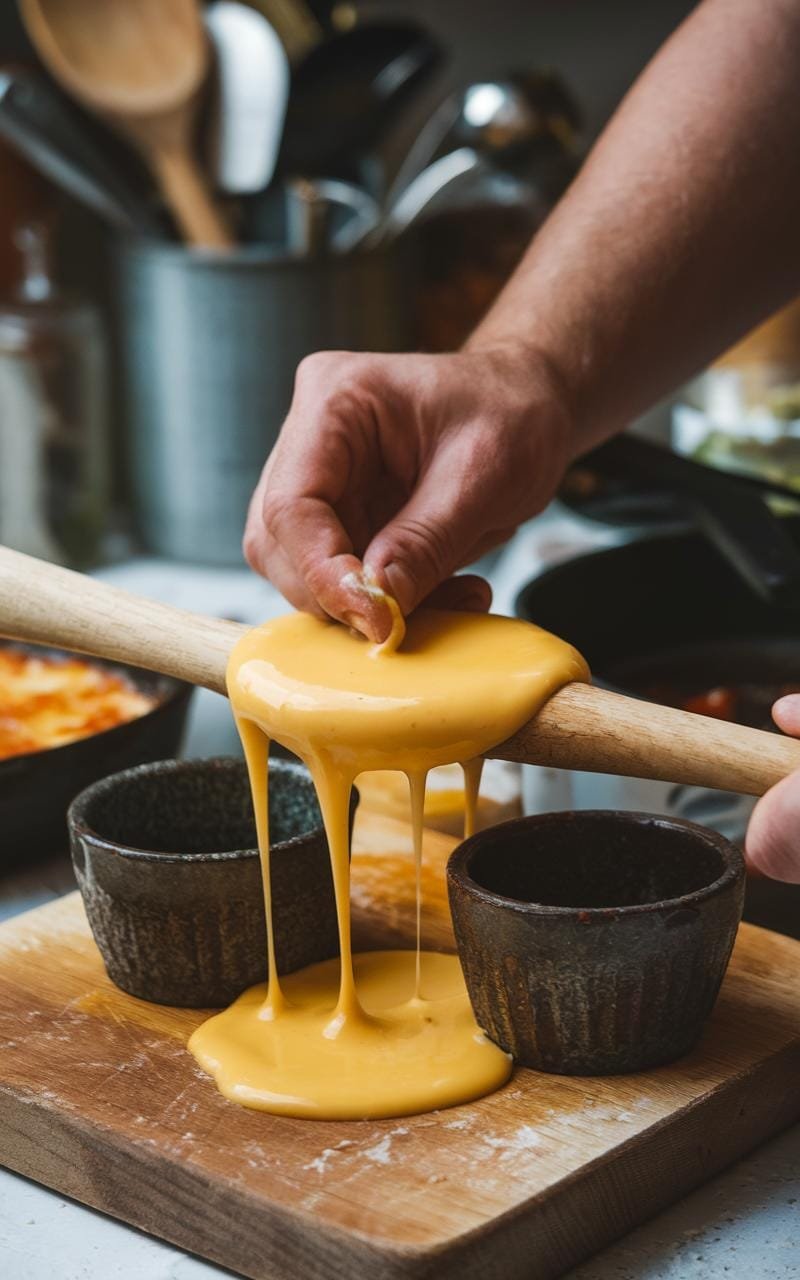
7. Let the shells cool completely until firm and crisp. This usually takes about 5 minutes.
8. Fill with your favorite taco ingredients and enjoy your crispy, cheesy creation!
CRUCIAL TIPS:
• Freshly grated cheese melts better than pre-shredded. Trust me, it’s worth the extra effort!
• Work fast when shaping – if the cheese cools too much, it’ll crack instead of bend.
• If your shells aren’t crispy enough, pop them back in the oven for 1-2 minutes after shaping.
STORAGE AND SCALING:
These cheese shells are best eaten fresh, but you can store them in an airtight container at room temperature for up to 2 days.
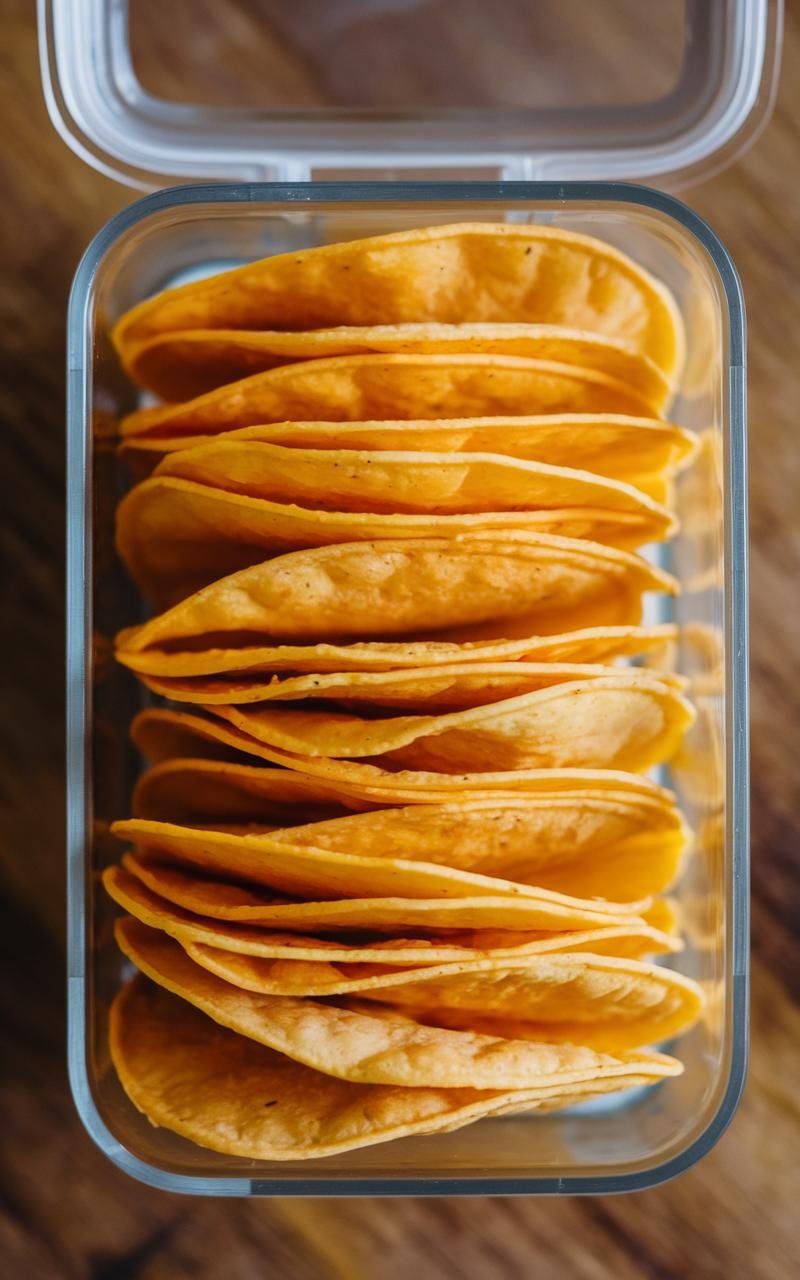
To reheat, pop them in a 350°F (175°C) oven for 2-3 minutes to crisp them up again.
Want to make more? Simply double or triple the recipe. Just make sure not to overcrowd your baking sheet.
COMMON MISTAKES TO AVOID:
• Using low-fat cheese: This will result in brittle, less flavorful shells.
• Overbaking: Keep a close eye on them – burnt cheese is no one’s friend!
• Filling them while hot: Let those shells cool completely, or you’ll end up with a soggy mess.
VARIATIONS:
• Cheese mix-up: Try different hard cheeses like Parmesan or Gouda for unique flavors.
• Spice it up: Mix some taco seasoning into your cheese before baking for an extra flavor kick.
• Mini tacos: Use smaller cheese portions to make bite-sized shells – perfect for parties!

Remember, the key to perfect cheese shell tacos is patience and practice. Don’t be discouraged if your first attempt isn’t picture-perfect – even my early tries looked more like cheese pancakes than taco shells!
With a little persistence, you’ll be crafting Instagram-worthy, low-carb tacos in no time.
Now, who’s ready for Taco Tuesday?
