Homemade Cottage Cheese: Creamy, Tangy, and Totally Worth It!
Ever wondered if you could make your own cottage cheese? Well, buckle up, cheese lovers! I’m about to show you how to whip up this protein-packed delight right in your kitchen. Trust me, once you’ve tasted the homemade version, you’ll never go back to store-bought.

KEY INFO:
Prep time: 16-24 hours (culturing), 45 minutes (stovetop method) or 30 minutes (acid method)
Cook time: 45 minutes (stovetop method) or 0 minutes (acid method)
Total time: 17-24 hours (culturing and stovetop) or 1 hour (acid method)
Servings: 5 cups (stovetop method), 2 cups (acid method)
Difficulty level: Moderate (stovetop method), Easy (acid method)
Dietary tags: Vegetarian, High protein, Low calorie
EQUIPMENT NEEDED:
• Large non-aluminum pot (or heavy-bottomed pot for acid method)
• Instant-read thermometer
• Cheesecloth or flour sack towel
• Colander or mesh strainer
• Slotted spoon
INGREDIENTS:
For stovetop method:
• 1 gallon (3.8 L) skim milk, 2% milk, or whole milk
• 1 cup (240 ml) cultured buttermilk with live active bacteria
• Salt to taste
• Optional: Crème fraiche for dressing
For acid method:
• 1 gallon (3.8 L) milk (any type except ultra-heat processed)
• ¾ cup (180 ml) white distilled vinegar OR ½ cup (120 ml) fresh lemon juice
• Salt to taste
• Optional: Heavy cream for dressing

METHOD:
Stovetop Method:
1. In a large pot, whisk together milk and buttermilk.
2. Cover and let stand at room temperature (around 72°F/22°C) for 16-24 hours. You’ll know it’s ready when it looks like yogurt.
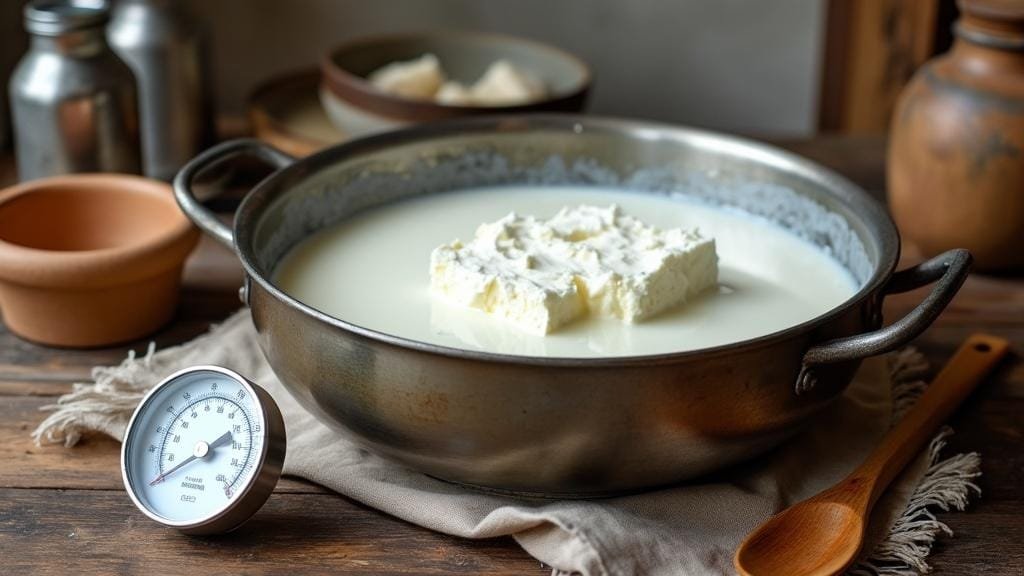
3. Place the pot in a larger pot filled with hot water. Heat until the curd reaches 120°F (49°C), stirring gently but constantly.
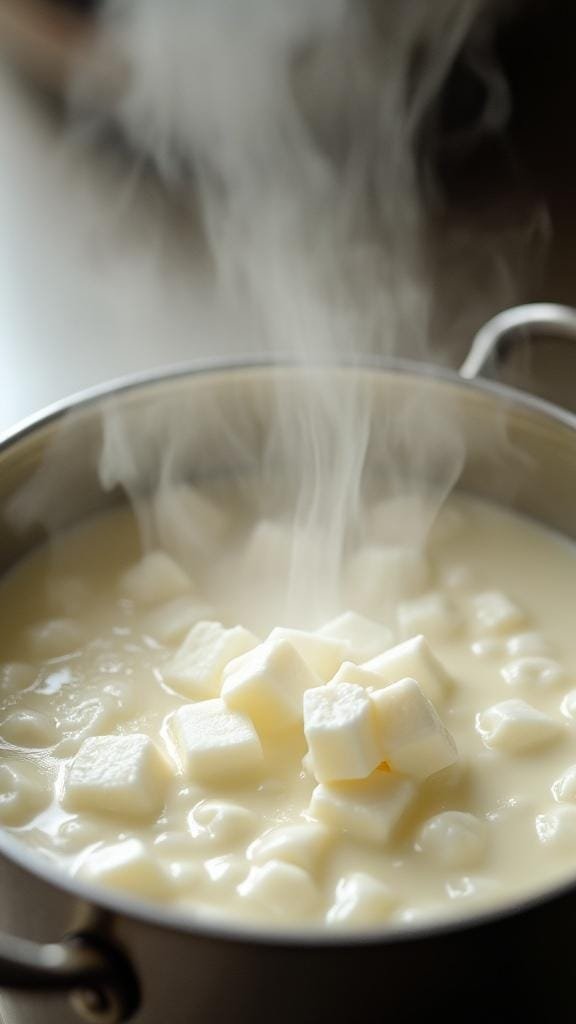
4. Cut the curd every ½ inch vertically and horizontally. Cover and let stand for 15 minutes.
5. Line a colander with cheesecloth, gently scoop the curds into it, and let drain.
6. Rinse curds with ice water to cool and remove excess whey.
7. Optional: Dress with thinned crème fraiche and salt to taste.

Acid Method:
1. In a heavy-bottomed pot, slowly heat milk to 190°F (88°C), stirring regularly to prevent burning.
2. Remove from heat, add vinegar or lemon juice. Stir gently and let rest for 30 minutes.
3. Line a colander with cheesecloth, gently scoop the curds into it, and let drain for 5-10 minutes.
4. Optional: Add heavy cream and salt to taste.
CRUCIAL TIPS:
• Never boil the milk – it’ll mess up the proteins and ruin your cheese!
• For the stovetop method, keep that culturing temperature steady at 72°F (22°C).
• Always use clean equipment to avoid any unwanted bacteria crashing your cheese party.
Storage:
Keep your homemade cottage cheese refrigerated. It’s at its best within 3-4 days but will last up to a week.
Scaling:
Want more or less? Just adjust the amount of milk and other ingredients proportionally.
Common Mistakes:
• Overheating the milk (remember, no boiling!)
• Not letting it culture long enough (patience is key for the stovetop method)
• Using ultra-pasteurized milk (it won’t curdle properly)
Variations:
• Whipped Cottage Cheese: Blend until smooth and creamy. Perfect for dips!
• Flavored Cottage Cheese: Get creative! Try adding garlic powder, fresh herbs, crushed pineapple, or even a sprinkle of cinnamon and maple syrup for a sweet twist.

Want to take it further? Consider incorporating your homemade cheese into recipes like Cottage Cheese with Fruit, an excellent breakfast addition, or try something savory like Creamy Cottage Cheese Mashed Potatoes.
Looking for yet another homemade dairy adventure? Why not try making Homemade Keto Yogurt or discover unique meal pairings like pairing cottage cheese with this Quinoa Buddha Bowl for a healthy lunch option.
There you have it, folks! Your very own homemade cottage cheese recipe. It might seem daunting at first, but trust me, once you’ve made your first batch, you’ll be hooked. The creamy texture, the tangy flavor – it’s worlds apart from the store-bought stuff.
And let’s not forget the bragging rights. Imagine serving up your homemade cottage cheese at your next brunch. Your friends will be impressed, and you’ll feel like a proper artisan cheesemaker. So go on, give it a whirl. Your taste buds (and your wallet) will thank you!



Pingback: Maria Barberly