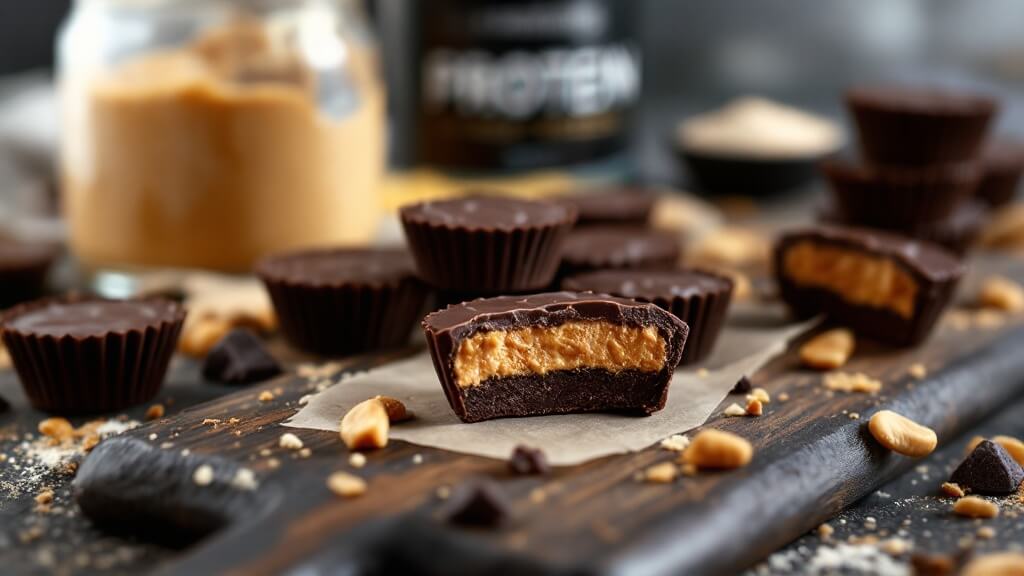
A no-bake, protein-packed twist on your favorite chocolate treat
KEY INFO:
Prep Time: 15 minutes
Chill Time: 30 minutes
Total Time: 45 minutes
Servings: 12 mini cups
Difficulty: Easy
Dietary: Gluten-free, Can be vegan/dairy-free
EQUIPMENT NEEDED:
• Mini muffin tin or silicone mold
• Muffin liners (paper or silicone)
• 2 mixing bowls
• Microwave-safe bowl
• Measuring cups and spoons
• Spatula
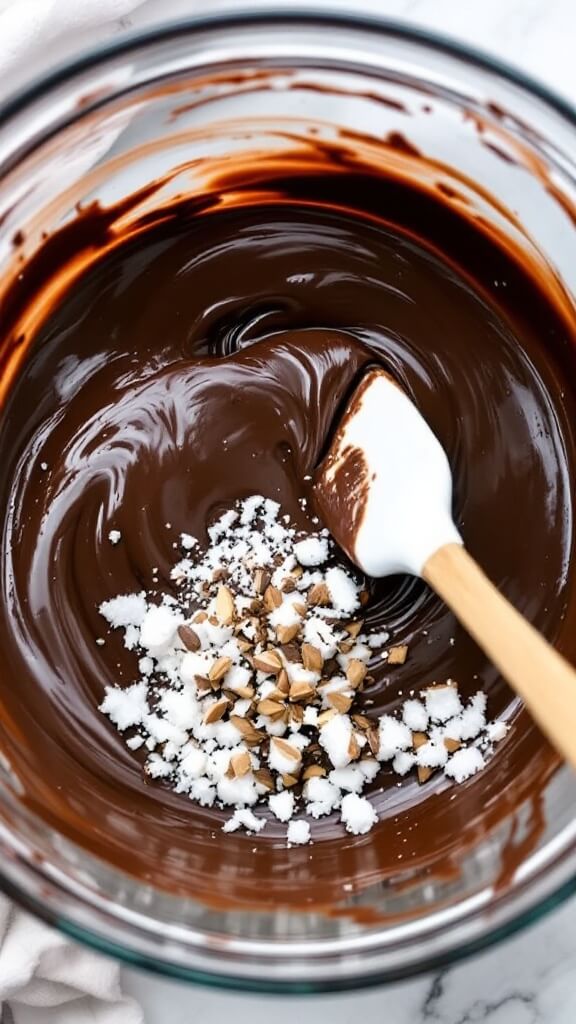
INGREDIENTS:
Chocolate Layer:
• 1½ cups (260g) dark chocolate chips
• 1 tsp (5ml) coconut oil (optional, for smoother texture)
Protein Filling:
• ½ cup (120g) natural peanut butter
• ¼ cup (30g) vanilla protein powder
• 1-2 tbsp (15-30ml) maple syrup
• 1 tsp vanilla extract
• Pinch of sea salt
• 1 tbsp almond milk (if needed for consistency)

METHOD:
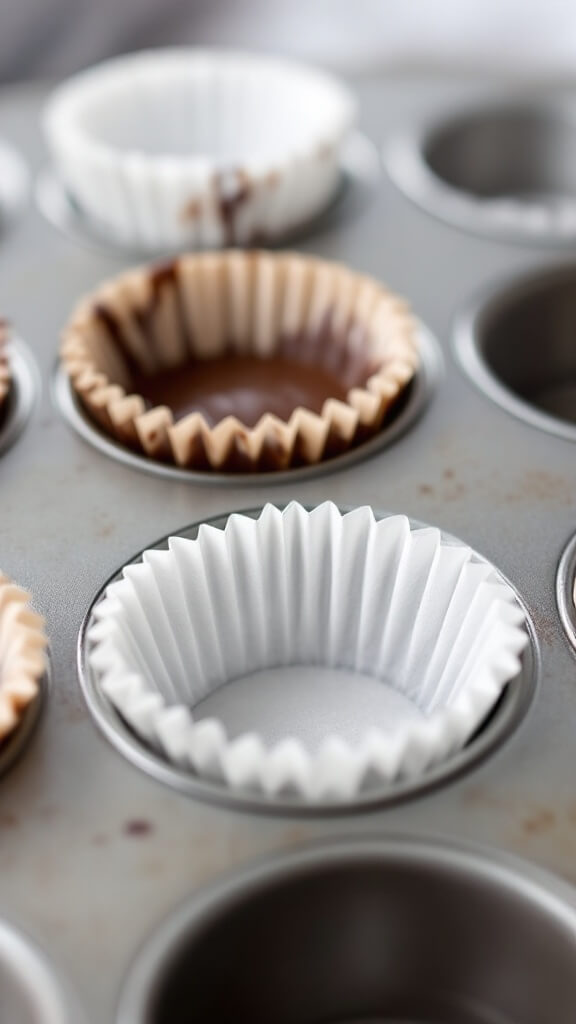
1. Line mini muffin tin with 12 liners.
2. Melt chocolate and coconut oil in 15-second intervals in microwave, stirring between each until smooth.

3. Pour 1 teaspoon melted chocolate into each liner, enough to cover the bottom. Place in freezer for 5 minutes to set.
4. Mix peanut butter, protein powder, maple syrup, vanilla, and salt until smooth. Mixture should be thick but moldable – add almond milk if too dry.

5. Roll protein mixture into 12 small balls (about 2 teaspoons each).
6. Place one ball in each cup, gently pressing down.

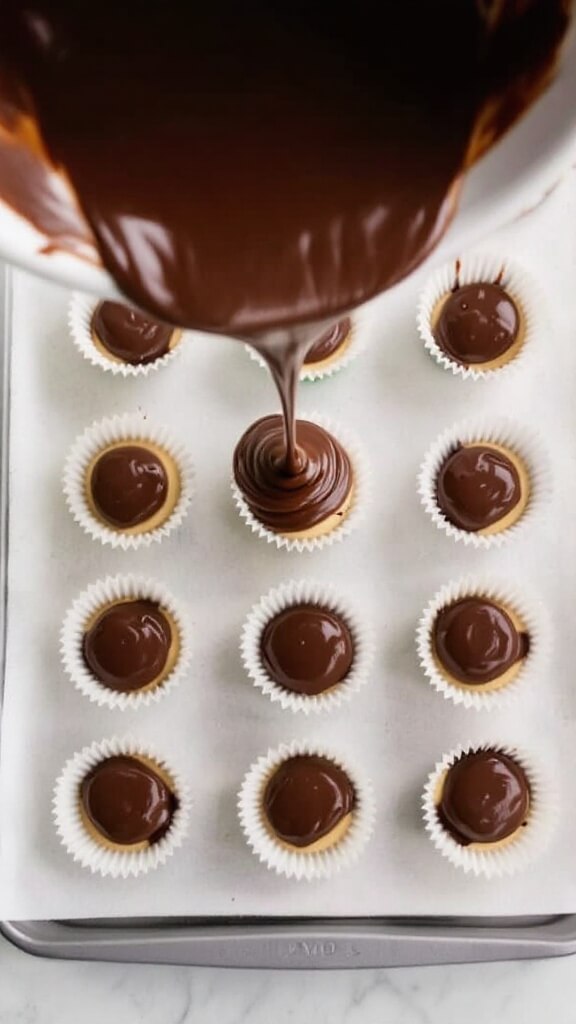
7. Top each cup with remaining melted chocolate, ensuring filling is completely covered.
8. Chill for 30 minutes in freezer until completely set.
CRUCIAL TIPS:
• Use drippy, natural peanut butter for best results
• Room temperature peanut butter mixes easier
• Don’t overheat chocolate – it will seize
• Keep stored in fridge or freezer
STORAGE:
• Refrigerator: Up to 2 weeks
• Freezer: Up to 3 months
• Let thaw 5 minutes before eating if frozen
VARIATIONS:
• Swap peanut butter for almond/cashew butter
• Use milk/white chocolate instead of dark
• Add crushed nuts on top
• Make them vegan with plant-based protein and dairy-free chocolate
MACROS PER CUP:
• Calories: 180
• Protein: 8g
• Carbs: 12g
• Fat: 13g
• Fiber: 2g
Common Mistakes:
• Using cold peanut butter
• Overheating chocolate
• Making filling too wet
• Not letting layers set properly
These protein cups satisfy your sweet tooth while delivering a protein punch – perfect for post-workout or healthy snacking!
Related recipes:
High Protein Chocolate Mousse
Protein Coffee Smoothie
Peppermint Chocolate Protein Shake
Protein Smoothie Bowl
Ultimate Protein Pancakes
Protein Ice Cream Recipe

